
AWS Series: Create EC2 Instance

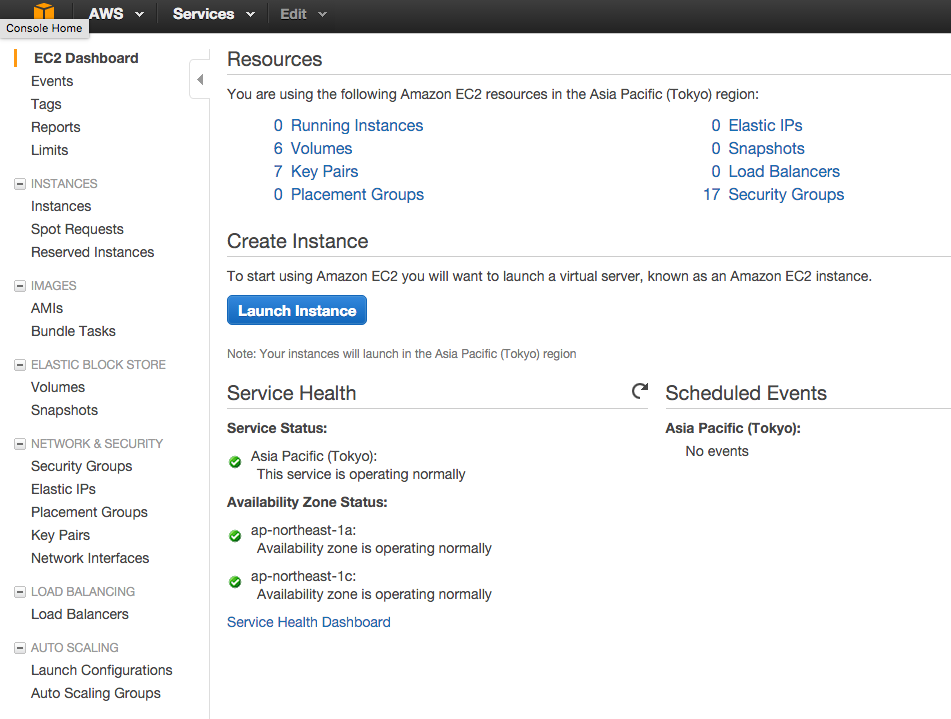
Begining with Amazon Web Services always start with Elastic Cloud Compute. This post will assume that you have already registered an account for AWS, and already logged into AWS Management Console. We are going to create EC2 instance for demonstration and give you an introduction about how EC2 works. The management console for EC2 service looks like this:
[om/content/images/2015/11/ec2_overview.png)
Create EC2 Instance
We will talk about EC2 dashboard later, and we do launch an EC2 instance first, so you can quickly know what it is. Click on Launch Instance button on your dashboard. AWS asks you to choose one from many Amazon Machine Image. Those AMIs are basically image for an operating system, which contains applications and configurations based on AMI that you choose. Here I will use an Ubuntu instance for simplicity:
[om/content/images/2015/11/ec2_choose_ami.jpg)
Next, we need to choose instance type. This step defines hardware configuration for our instance, like RAM, CPU, and so on. But you should know that we are not able to fully customize value of those hardwares, but we choose a hardware template instead. AWS gives us many instance types, each of them will be suitable for certain situation. Note that, more power for your instance, more cost to paid. So for this demo, I will create a t2.micro instance as it’s in free tier.
[om/content/images/2015/11/ec2_instance_type.png)
In next screens, including: Configure Instance, Add Storage, Tag Instance, leave default values. But in Security Group screen, you can see that by default, our instance is accessible through only SSH protocol on port 22. We will temporarily enable All Traffic from and to this instance for this demo. Note that in practice, you MUST not enable all traffic, as this is critical security issue.
[om/content/images/2015/11/ec2_security_group.png)
Now you can launch your instance. But to remotely log into your instance, you have to create a key pair. You should save this key pair to a secure location. You will need it later:
[om/content/images/2015/11/ec2_create_key.png)
Launch the instance, and it will be up in a few minute!
Connect to Your Instance
Now as your instance is running. You can view its status and public/private IP address. Each EC2 instance can be assigned a public IP address, and always have a private IP for VPC networking. We should use public DNS or public IP of the instance to login, through SSH. Back to EC2 management console, and you can see details of your instance:
[om/content/images/2015/11/ec2_details.png)
Now use ssh for logging into the instance using its Public DNS value:
$ ssh [email protected] -i codentrick-demo.pem
Note that we use ubuntu as our username, because default root user in selected Ubuntu AMI is ubuntu, but if you choose another AMI, please refer to its documentation for root account.

And you can start install applications, like Apache, nginx or MySQL, deploy your application and solution as usual. In next post, we will create a simple WordPress installation in our instance and discover more about EC2 types.