
Create Certificate for iOS Push Notification


For an iOS app, the push notification certification preparation always make me annoying. Not just because I have to prepare too many certifications, but also sometimes I did a step fail, and the certification does not work at all. But I only realize that when backend code does not work too. So, I would like to share with you a step-by-step guide to create certification and preparing key files for iOS Push Notification.
Presiquisites
- Of course, you shall have an active Apple developer account.
- Then, you are running OS X to have Keychain Access app.
Prepare App ID
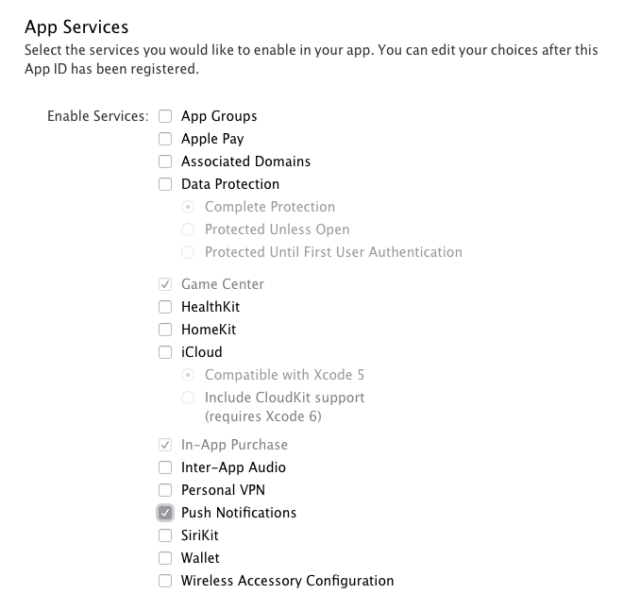
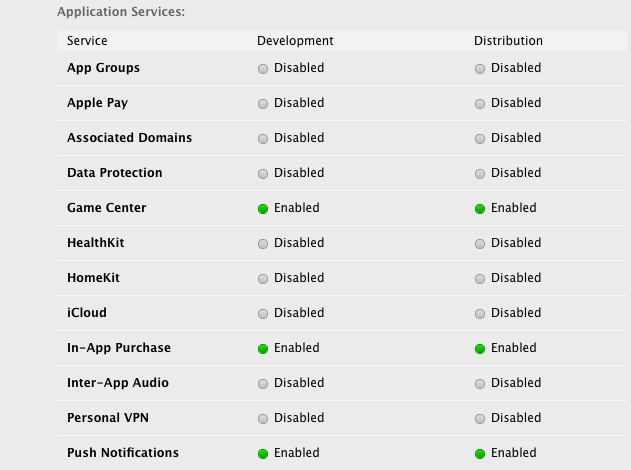
Now you are going to enable Push Notification capability for your iOS app. Go to your Apple Developer account page and create an app ID if you do not have one. You should use Explicit App ID and do not fotget to tick Push Notifications in App Services section:
 Then click Register in next Screen, now you app is ready for certificate configuration.
Create Certificate Signing Request
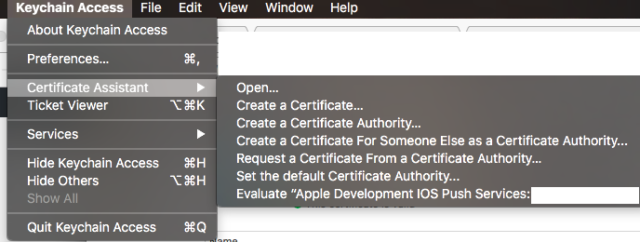
As Apple requires you to create a CSR file for certification, and we must create two separate files for sandbox and production environments, now, open up Keychain app on your Mac. Open App menu > Certificate Assistant -> Request a Certificate From a Certificate Authority.
Fill in your email address and name of your certificate, change Request type to Saved to disk thus we can store our .CSR file locally:
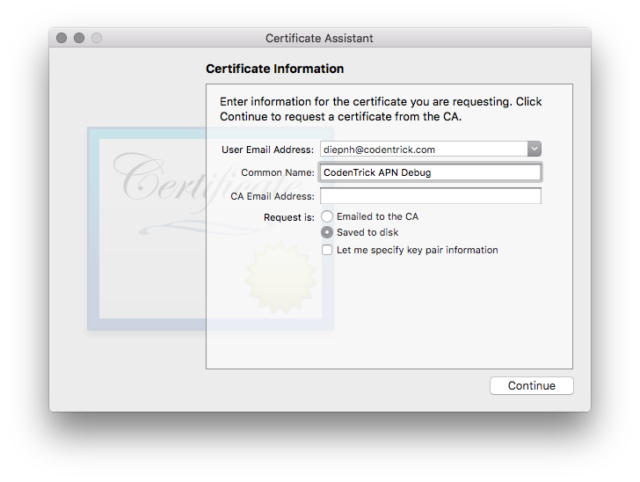
Save it with a memorable name which you can identify later. Note that you shall create two certificate requests for Sandbox & Production environments.
Create Certificate
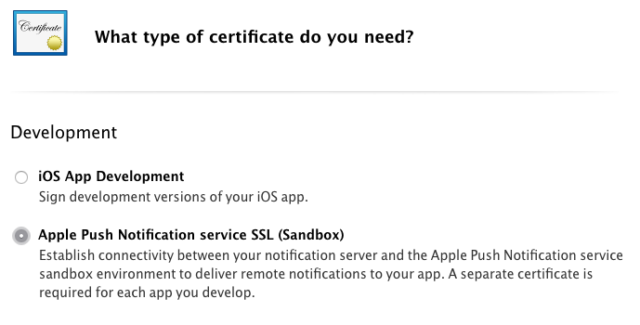
Go to your Apple developer account, Certificate > Add.. Choose Apple Push Notification service SSL (Sandbox) or Apple Push Notification service SSL (Sandbox & Production) based on certificate type:
Then specify your app ID, upload your certificate request file, wait a little bit and your certificate shall be ready. Download it and double-click on it to import to your keychain. Now you certificate(s) shall be ready for push notification.
Test Certificate
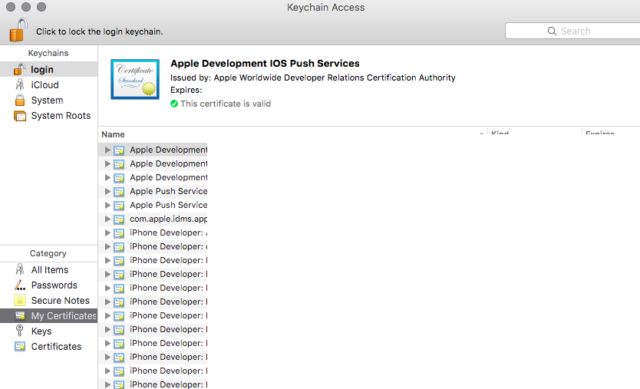
In order to test the certificate, you need to get certificate with its private key from Keychain app. First, open up Keychain app on your Mac, and export certificate’s private key:

Enter your desired password when be promted, this password will be used at your backend services later. The private key will be exported in .p12 format. Now you have a push.cert file and push.p12 file. Convert it to .pem format by open Terminal and enter the following command:
$ openssl x509 -in push.cer -inform DER -outform PEM -out cert.pem
$ openssl pkcs12 -in push.p12 -out key.pem -nodes
The above commands will convert certificate and private key files to their corresponding PEM files. Those PEM files can be tested with the following command:
$ openssl s_client -connect gateway.push.apple.com:2195 -cert cert.pem -key key.pem
If the PEM files work well, then you will see a bunch of log lines which indicate connection has been established successfully. Note that gateway.push.apple.com:2195 is URL for Production push notification gateway and thus shall be tested with Production certificate/private key. If you are going to test Sandbox certificate/private key, change the URL to gateway.sandbox.push.apple.com:2195.
Summary
Finally, you should review your app again, and it looks like this:
Then you are ready to test your app with Firebase, Smooch or any push-related services, or you can use NodeJS or any familiar back-end framework to create your own awesome product now.