
Parallax Effect for iOS with Swift


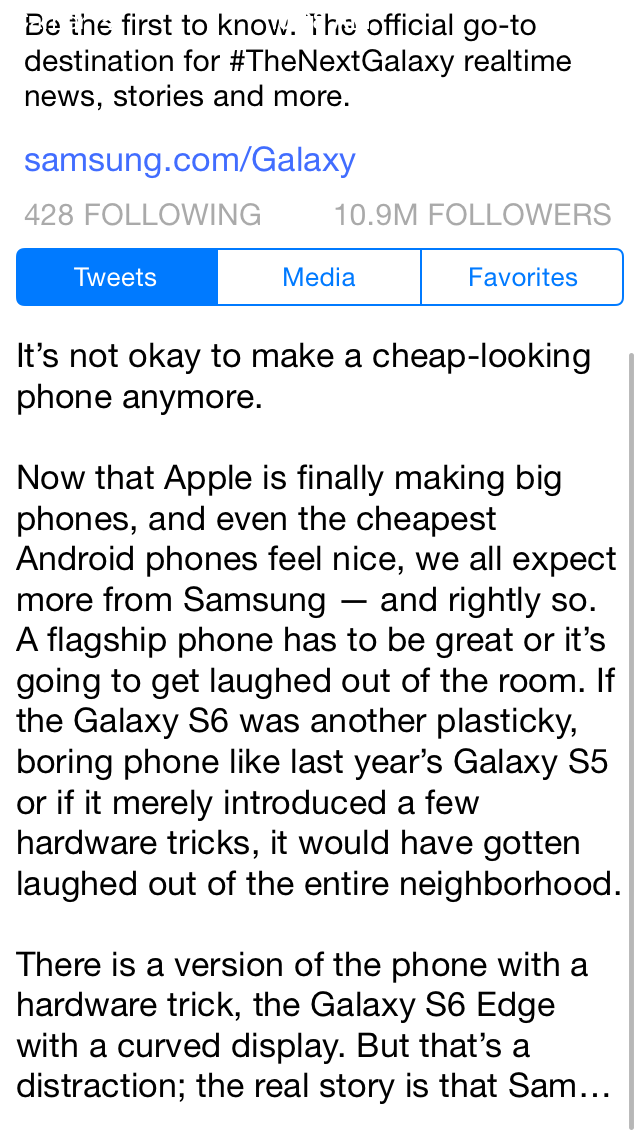
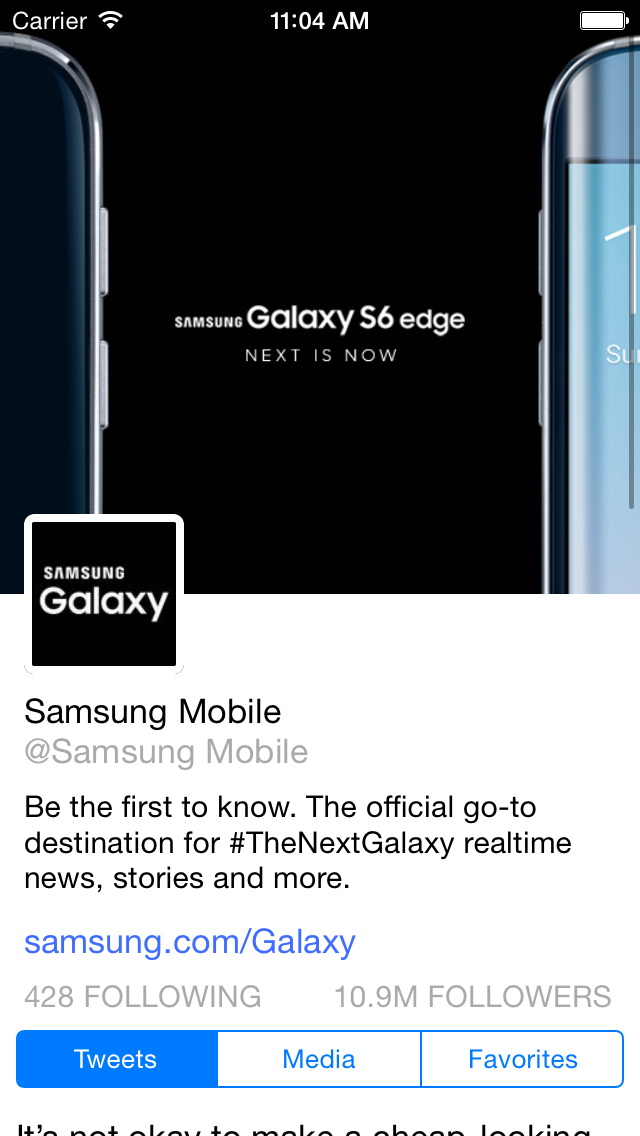
For an app which has many long content, mixed with images and text, scrolling through a long and static content is boring. We can make scrolling more interesting by implement parallax effect for images inside. There are many way to create parallax. Let’s take a look at Twitter for iOS – Profile screen:
[
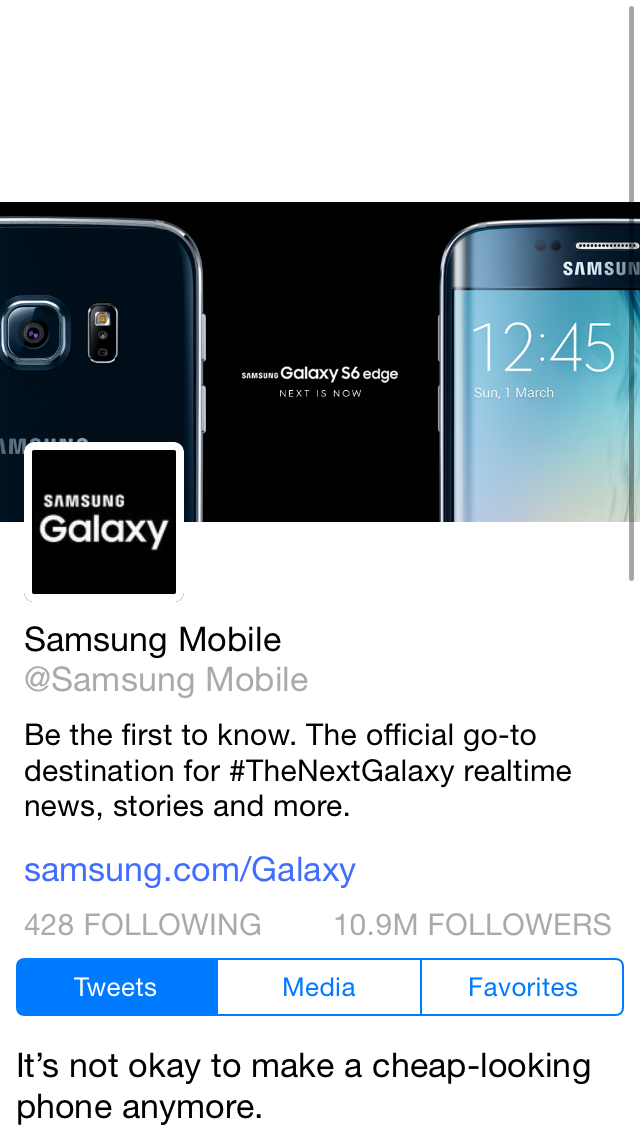
Now what happen when we try to scroll down (note that we are already at top position of scroll view):
[
You can see that it looks like cover image is behind wall of information. When we scroll down, the wall is more down and let a window open for us to see cover image bigger, scale nicely. This is a simple case where parallax is perfect fit. Today, we will try to implement this effect with Swift and Storyboard/Autolayout in iOS.
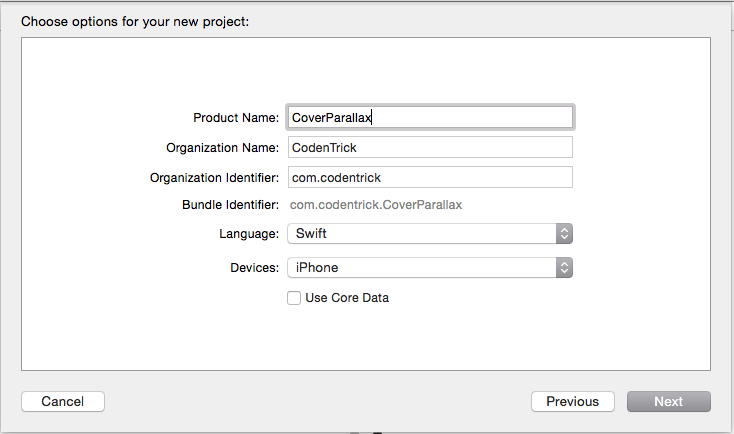
New Project
Let’s start by create a project with XCode. Here I use XCode 6.4 and Swift 1.2 for a new Single View Application:
[
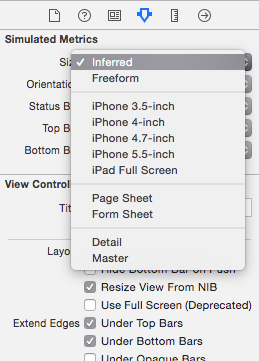
Go to Storyboard and change ViewController size to iPhone 4″ for easier drag-n-drop:
[
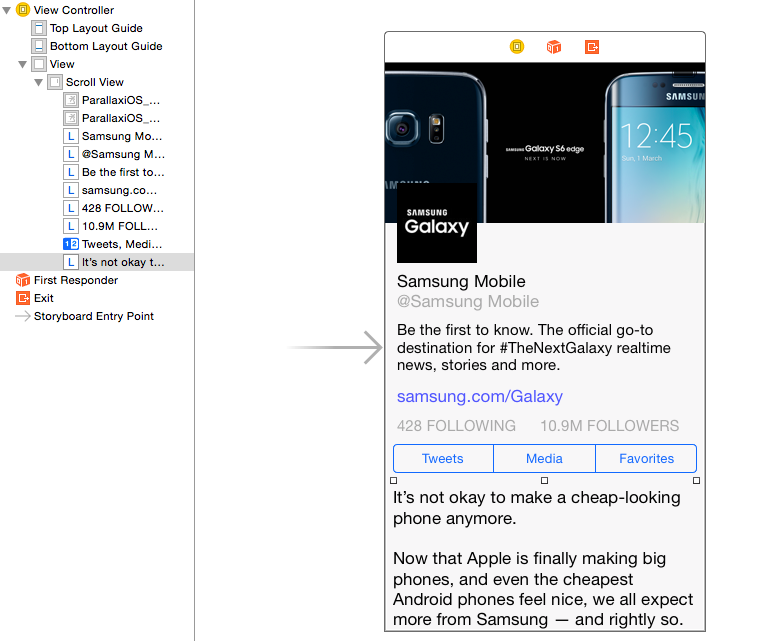
With auto-layout setup, we start adding a scrollview and elements inside into our view controller:
[
Run app on simulator with some adjustment for our avatar view to make it look like Twitter:
class ViewController: UIViewController {
  @IBOutlet weak var avatar: UIImageView!
  override func viewDidLoad() {
    super.viewDidLoad()
    avatar.layer.cornerRadius = 5.0
    avatar.layer.borderWidth = 4.0
    avatar.layer.borderColor = UIColor.whiteColor().CGColor
    avatar.clipsToBounds = true
  }
}
Here is the result:

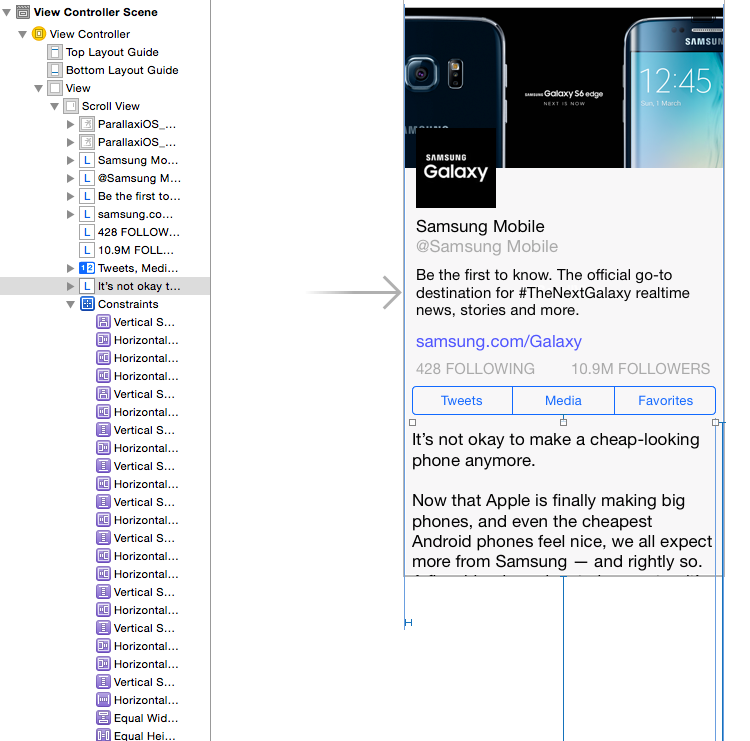
Setup constraints for a happy scrollview
You can note that our scrollview does not work for now. We will start adding constraints onto our elements to make sure that:
- Ensure the scroll view’s own frame constraints are not ambiguous (eg. make the leading, trailing, top and bottom space to superview all equal to
0.f). - All four edges of the scroll view should have some kind of constraints to it’s subviews (in order for the content size to be defined correctly).
- At least one subview needs to define the content width (eg. I like to set an equal width constraint from the header
UIImageViewto the scroll view’s superview) so that the content height can be calculated automatically.
[
Verify that our scrollview works:
[
Now when we try to scroll down at the top position:
[
You can see a blank space at the top position, this is where parallax comes to rescue.
Parallax Effect
First, you want to have the image view height constraint to be removed:
[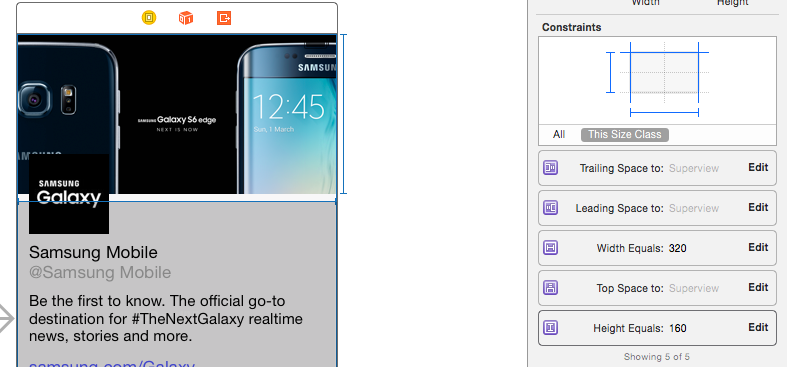
Then, we are going to make top of imageView has constraint with topLayoutGuide of view controller, and bottom of imageView sticks with the rest of scroll content. So we create the following constraints:
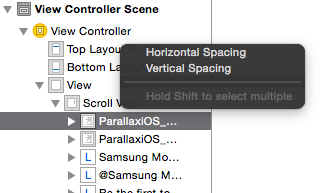
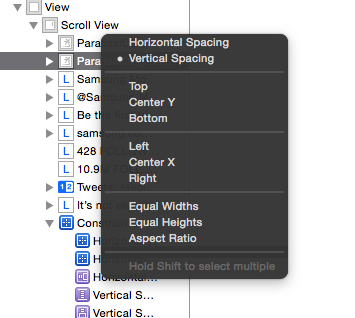
- Hold Ctrl, and drag from our imageView then drop on to Top Layout Guide in Storyboard, select Vertical Spacing and set value to 0.f.
[
- Select our imageView and first scroll view content element. Here I choose our avatarImageView and pin Vertical Spacing with value of 0.f.
[
Now we should ready to go. Run project again, and see the result when you try to scroll down from the top position:
Congratulation, you have just finished your parallax view in just few steps without involving code. Now you want to see parallax in other case? Wait for our next post in Parallax with iOS series in next week. Stay tuned!
Update: source code for the demo is commited at part-1 tag in GitHub.