Quickly Create Parcelable Class in Android Studio

Passing primitive data types like string, integer, float, etc. through intents is quite easy in Android. All you have to do is put the data with unique key in intents and send it to another activity. If a user wants to send Java objects through intent, Java class should be implemented using the Parcelable interface. Serialization, on the other hand, is a Java interface that allows users to implement the interface which gets marked as Serializable.
During the Android application development process, developers often have to send Java class objects from one activity to another activity using the intent. Developers can opt from the two types of object passing techniques, i.e. Serialization and Parcelable of object. The fact that Parcelable is faster than Serialization makes it a preferred choice of approach while passing an object. Here’s why:
Parcelable Implementation
Android Parcelable implementation allows objects to read and write from Parcels which can contain flattened data inside message containers.
If a developer wants to convert a Java object into Parcelable, then the best way to do so is by implementing the Parcelable interface and overriding the writeToParcel() methods in its own class. The first step is to override the writeToParcel() method and write all object members into parcel objects. The second is to create a static Parcelable.Creator object to de-serialize the Java object.
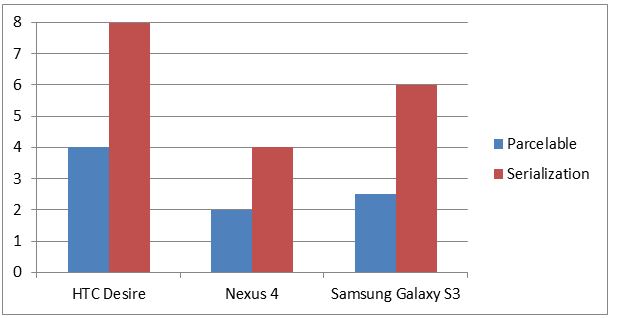
The point is, Parcelable is designed to work best in Android VM with highest performance as possible. Here is a test result taken from 3pillarglobal:
[ You can see Percalable outperforms Serialization in Android. In other word, if you go with Android, then always use Parcelable for your POJO classes.
Parcelable in Android Studio
Assume you have several POJO classes with many variables and properties. You may find the Parcelable protocol is so complex to achieve. Here I give you another solution for quickly create Parcelable classes using Android Studio.
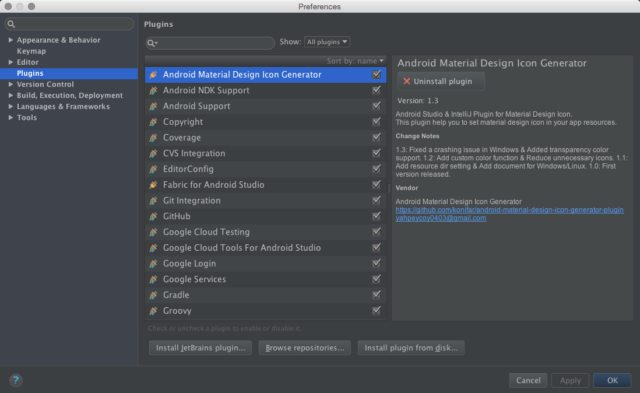
Go to Preferences -> Plugins.
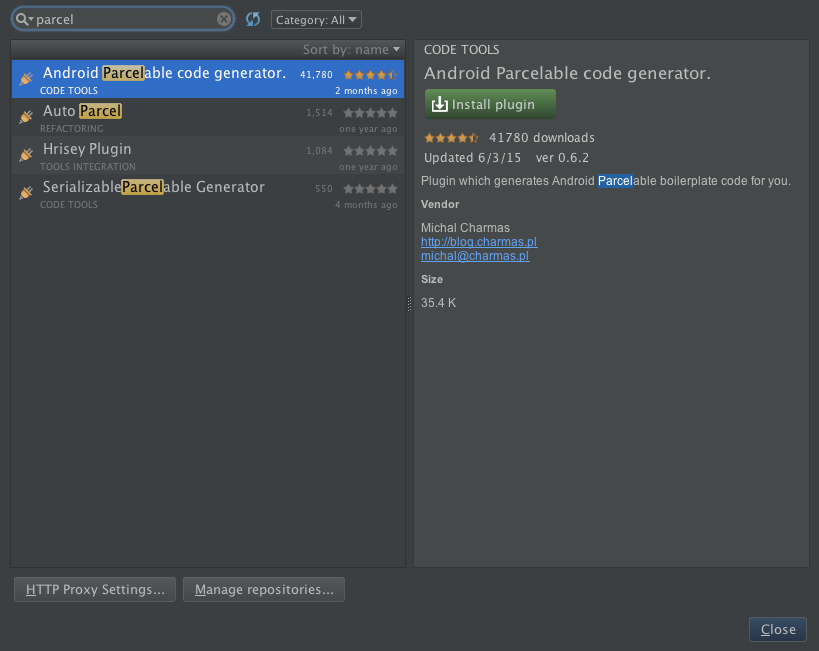
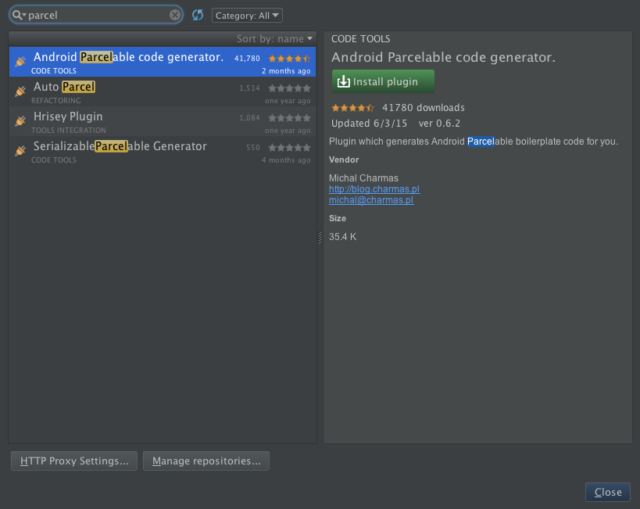
[ om/content/images/2015/08/AndroidStudio_Plugins.png)You can choose to Install plugin from Disk.. if you want to manually download the plugin. I prefer Browse repositories… and find for parcel plugin, like this:
[ om/content/images/2015/08/AS_ParcelableGeenrator.png)Install the plugin and restart Android Studio when prompted.
Create Parcelable Class
Now go to your model class. Right click on source and choose Generate:
Then you should choose your preferred fields to be included within generated code. Press OK and your class is ready:
@Override public int describeContents() {
 return 0;
}
@Override public void writeToParcel(Parcel dest, int flags) {
 dest.writeParcelable(this.internalDevice, 0);
 dest.writeInt(this.rssi);
}
protected BLEDevice(Parcel in ) {
 this.internalDevice = in .readParcelable(BluetoothDevice.class.getClassLoader());
 this.rssi = in .readInt();
}
public static final Parcelable.Creator < BLEDevice > CREATOR = new Parcelable.Creator < BLEDevice > () {
 public BLEDevice createFromParcel(Parcel source) {
  return new BLEDevice(source);
 }
 public BLEDevice[] newArray(int size) {
  return new BLEDevice[size];
 }
};
Enjoy the Parcelable way!


